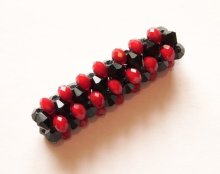
 The quadrant burns not only on their own, but also on the other hand, this technique makes it very unusual in the form of a product.
All clickable paintings (uppression increase)
In order to learn how to spit the square burnt, we'll need:♪ Big basser. 2nd flowers (in our example, red and black beads are used)
• Lesca or thread of the right color.
♪ Biserpent needles.
Quarterly stitching procedure:
The wedding jacket consists of sections, each of which is a cube, with a base floor, walls and ceiling.
1. Cup base:
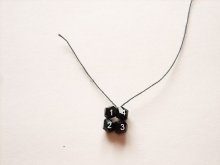
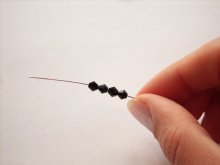
1.1. Pick up four black beads:
1.2. Put 'em in the ring, tie 'em on a double knot:
2. Flying the first wall of the cube:
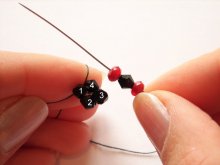
2.1. Pick up red, black and red bush again:
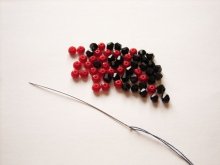
2.2. Get the needle through the fourth black bead of the base of the burn, towards the first bush, as shown in the photo:
Hold the loop.
So we're ready for the base and one wall of the cube.
3. Flying the second wall of the cube:
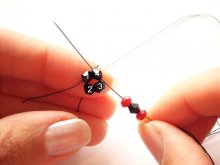
3.1. Get the needle out of the first black bead of the base:
3.2. Pick up red and black beads:
3.3. Get the needle through the red bead of the first wall and the first black bead of the base of the cube:
Pull the thread.
Now we have two walls of the cube.
4. Flying the third wall of the cube:
4.1. Get the needle out of the second black bicellon of the base:
4.2. Get red and black beads again:
4.3. Take the needle through the red bead of the second wall and the second black bead of the base of the cube:
Pull the thread.
Three walls are ready now.
5. Flying the fourth wall of the cube:
5.1. Get the needle out through the third black bush of reason:
And then through the red bead of the first wall:
5.2. Get a black bush:
5.3. Get the needle through the red bead of the third wall:
Then through the third black bush of the base of the cube:
and through the red bead of the first wall:
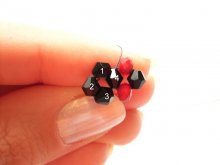
All right, we've got the whole cube ready, with base, walls and ceiling.
6. Now, to secure the ceiling of the cube, we need to go through its top four black beads, locking them in the ring:
Once you have mastered this technique, this step may not be taken, but in the first stage it is necessary, as it adds to the fly.
That's what our cube looks like on top:
So, the side:
7. The following " tales " , the burnt on the same basis, will only be the basis for each of the following sections:
First wall of the second floor:
Second floor wall:
Third wall of the second floor:
Fourth wall of the second floor:
Fill the ceiling:
Type of two prepared square-cut sections:
This looks like a square burn consisting of seven sections:
